I recently headed out to an Society for Creative Anachronism event—Trillium War, held near Hastings, Ontario—for a weekend of camping and teaching the basics of stave bucket construction.
Between running the lesson and coaching students on tool use, I took time to develop my own skills—particularly with a curved drawknife, a recent addition to my kit.
Preparing the Staves
Before arriving, I had already cut twelve pine staves using a 15-degree miter and taper with shop-built jigs. Completing this step on a table saw ensured tight, consistent joints along the vertical edges—critical for achieving a watertight seal.
Shaping the exterior
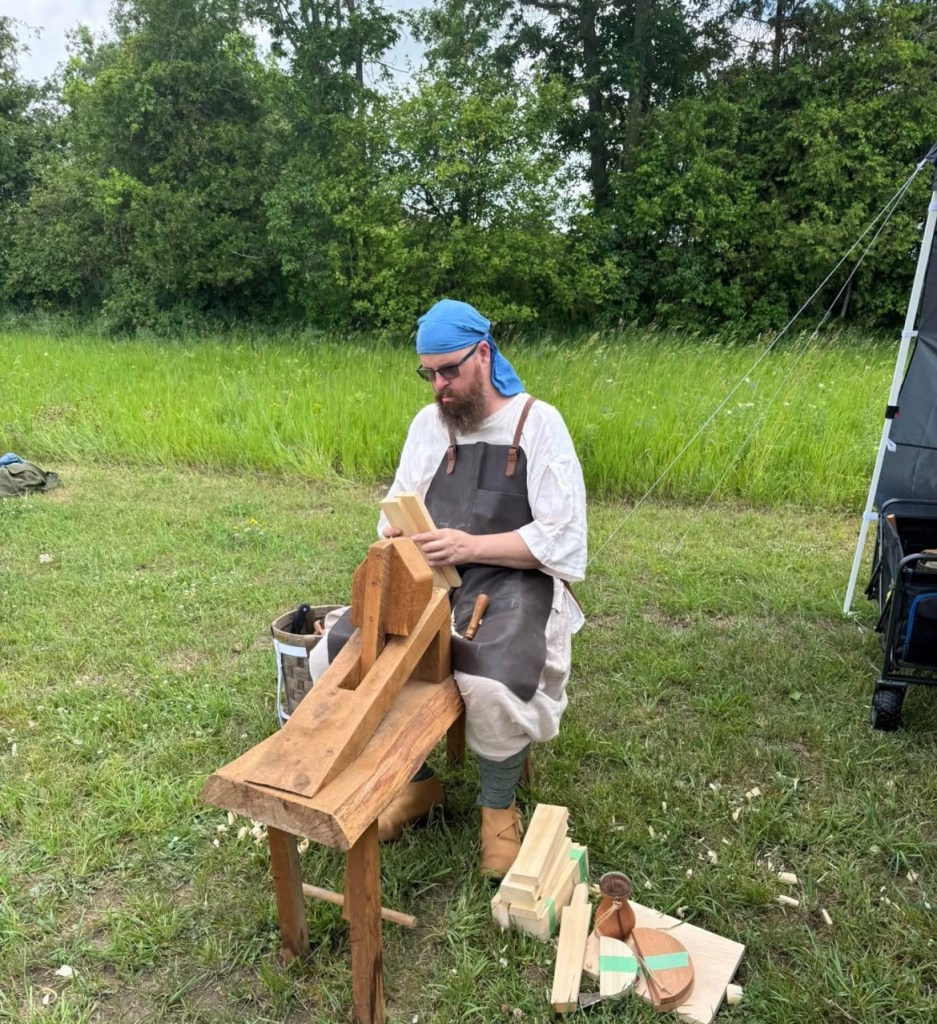
In this stage, the stave is held in place using a German-style block-head shave horse, with material being removed from the interior.
The curved drawknife—while slightly oversized for this task—performed well, especially in shaping the inner curve of the bucket.
The shave horse itself proved invaluable. That said, I’m considering modifying it. Replacing the block head with a simple bar (more in line with a traditional English-style shave horse) would likely make it more versatile for a wider range of work.
Repetition and Grain Challenges
After repeating the process across all twelve staves, I was pleased to see a noticeable improvement: the interior shape of the bucket was much rounder compared to earlier builds, which tended to be more angular.
Only one stave presented an issue, with erratic grain running in multiple directions. It was suggested this may have been caused by a branch growing through that section of the tree.
To keep everything aligned for reassembly, I numbered each stave—especially important since the bucket would need to be taken apart again later.
Assembly and Improvisation
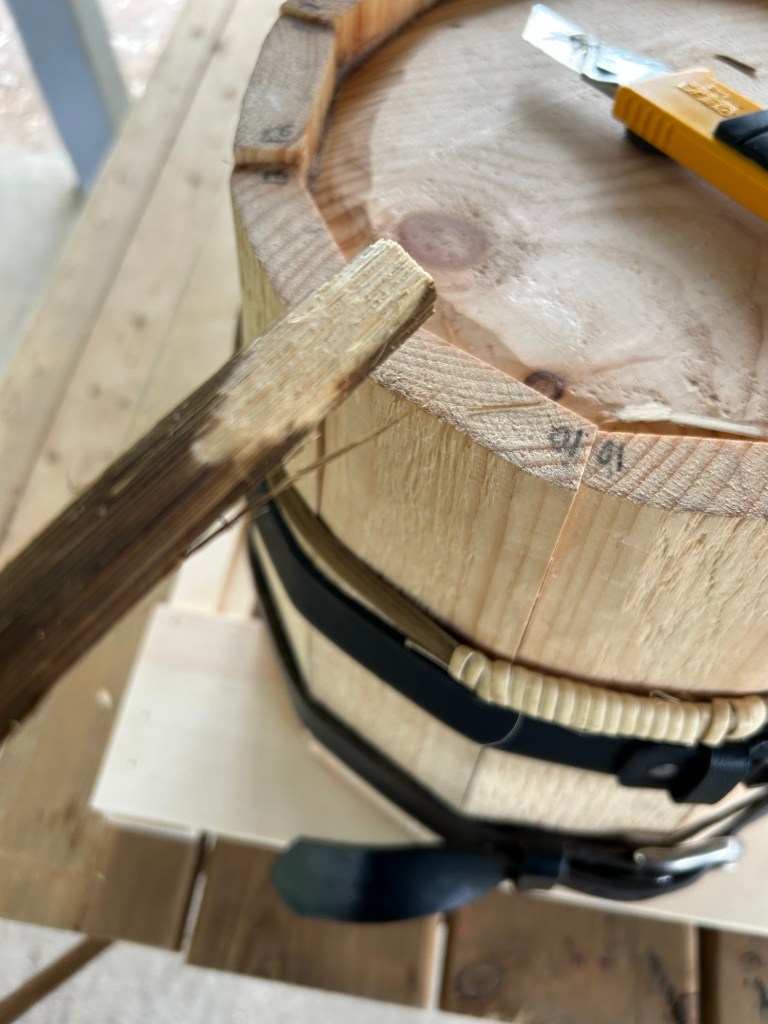
Traditionally, once the staves are assembled, a temporary metal hoop is driven onto the outside of the bucket to apply even pressure and hold everything tight.
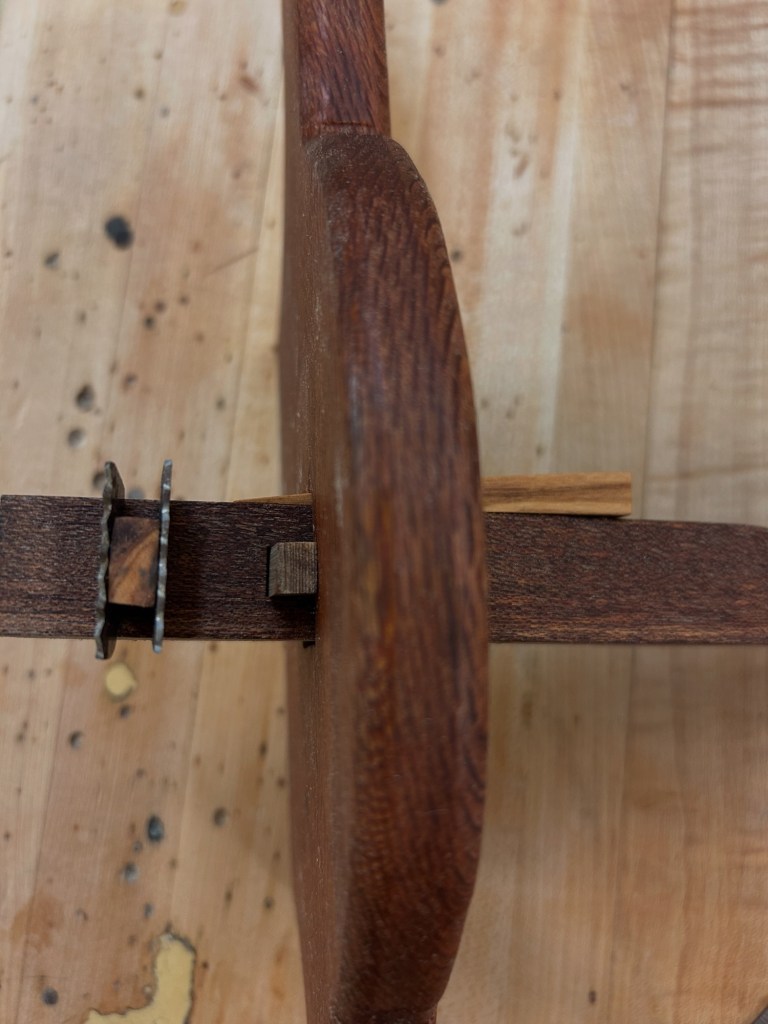
Without a metal hoop available, I once again used a leather belt—and it worked surprisingly well. To tighten it, I used a small wooden hoop driver I made from mahogany, trying to stay as close as possible to historical methods.
Croze Work (and Limitations)
Historically, the next step would involve using a howel plane (sometimes called a “howler”) in a circular motion to smooth the interior and prepare for the croze.
I don’t yet own—or haven’t yet made—a howel plane, though it’s high on my to-do list.
Instead, I used my Post Pillar Croze to mark where the head (the bottom of the bucket) would sit. At this stage, however, the tool was still only scoring two parallel lines rather than removing material as a traditional croze would.
Because of this, I had to disassemble the bucket and chisel a ¼” groove into each stave individually to fit the head.
Time vs. Technique
Once the grooves were cut, the bucket was reassembled.
This process—taking the bucket apart, chiseling each stave, and putting it back together—was extremely time-consuming.
Improving the croze is now a priority. A properly functioning tool that cuts a clean, consistent groove in one pass would not only save time but also bring the process closer to true historical practice.
Ongoing Lessons
Each build continues to highlight the balance between historical accuracy and practical limitations.
For now, I’m working with what I have—modern tools where needed, hand tools where possible, and constant iteration in between.
The goal remains the same: tighter joints, better flow, and tools that do the job the way they were meant to.
Disclaimer: This blog is a place to document my projects, experiments, and lessons learned. I’m a craftsman first, not a writer—but I share in the hope that others find it useful or inspiring.
