My Bucket Journey – Hybrid Learning
My bucket-making journey has always been a hybrid learning process—combining historical methods, hand tools, and the realities of working in a modern shop.
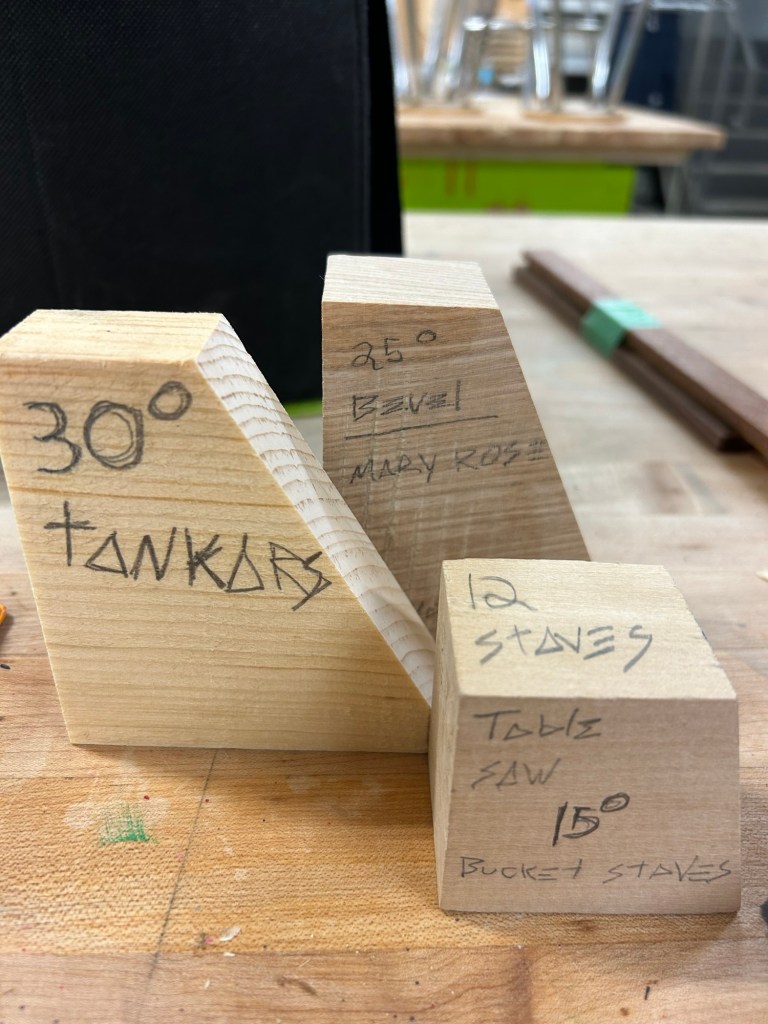
As I continue to build up my collection of traditional tools, I rely on modern power tools to bridge the gap. The current set of jigs I’m using were all made with modern equipment. The process outlined here begins after the staves have already been cut into straight-sided planks and the croze has been completed.
Lessons from the Jigs
After several test runs, the jigs proved capable of producing tight edges with bevels that have the potential to create a watertight (wet) bucket.
The most important lesson:
Start with enough width on your initial stave cut.
If too much material is removed on the first pass, you won’t achieve a tight bevel on the opposite side. While this isn’t a major issue for a dry bucket, it becomes critical if your goal is a watertight vessel—tight seams all the way around are essential.
Learning Without a Lineage
Historically, an apprentice cooper would spend 5–7 years learning the trade—often making their own tools before ever attempting a full bucket or barrel. Working entirely with hand tools, they developed the ability to diagnose and correct problems using nothing more than their hands and eyes.
From the medieval ages to modern day he craft was passed down through guilds and families. I genuinely believe that even today, there are aspects of coopering that haven’t made their way onto the internet. Some knowledge still lives only within the hands of those who practice it.
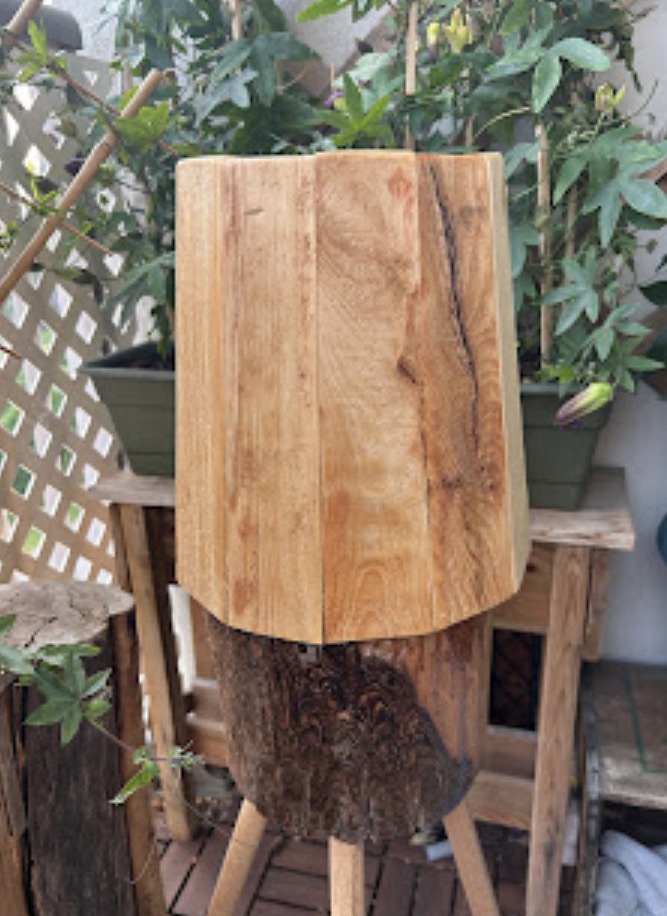
Assembly
To bring the bucket together, I rolled the staves around the head and used packing tape as a temporary clamp. Historically, coopers would use wooden or metal hoops at this stage. Working backward from modern methods, fabricating proper metal hoops is high on my list—fortunately, I know a couple of blacksmiths who may be able to help.
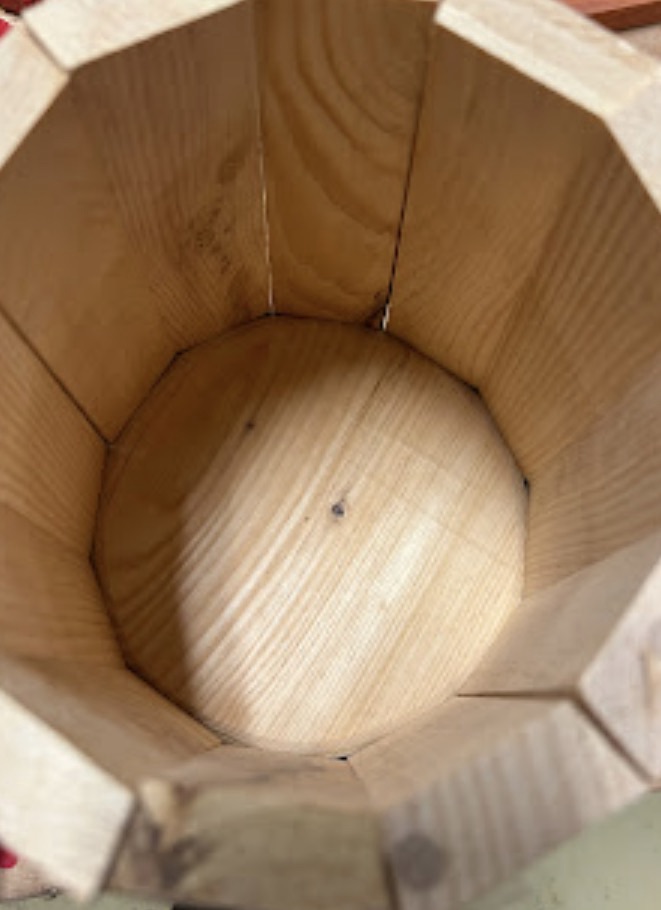
Fit and Challenges
Looking down into the bucket, you can see that while some staves fit tightly, others leave gaps. This could be due to several factors: the croze, the head, or the staves themselves.
Time was limited on this build, so I chose to glue it as-is and treat it as a learning piece. The goal is to identify and correct these issues in the next iteration.
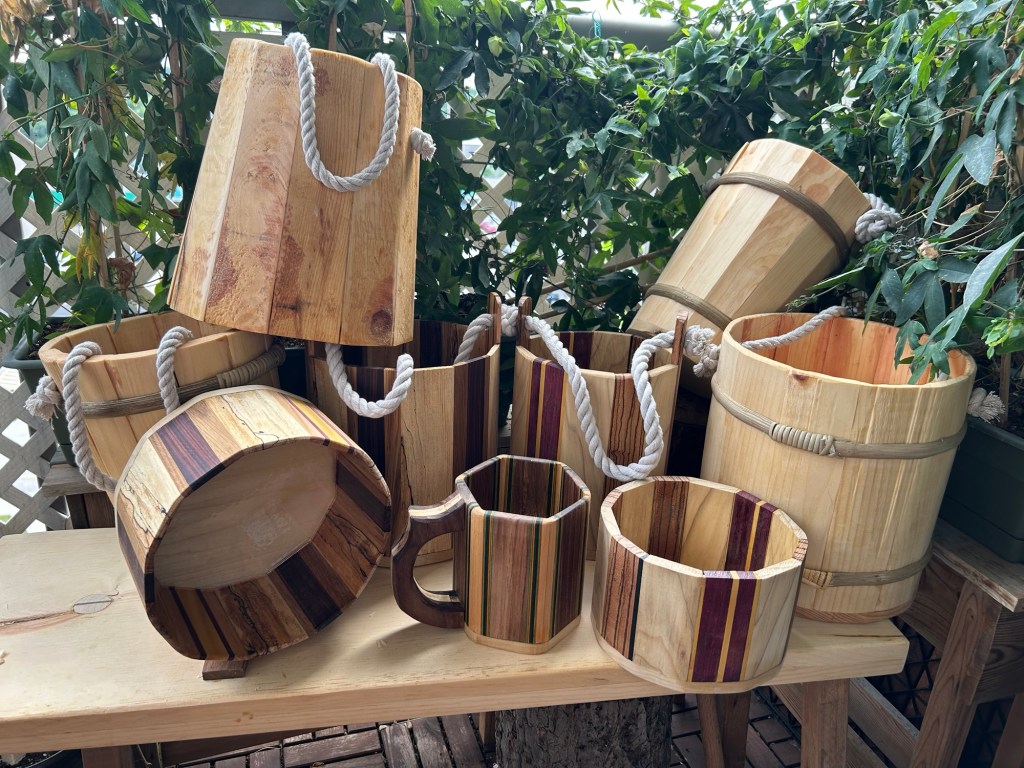
The Result: A Firkin
This bucket ended up narrower at the top and wider at the bottom—a shape known as a firkin.
Traditionally, firkins were used to store and transport goods such as beer, butter, or fish. They are essentially a smaller form of a barrel, typically holding about a quarter of a barrel’s volume.
The finished piece has been sealed on the outside with a beeswax and linseed oil wax blend. The current plan is to apply epoxy to the interior to fill any gaps and make it watertight. A lid may or may not be added later.
Final Thoughts
Each bucket teaches something new. This one highlighted the importance of stave preparation, precision in bevels, and the limits of my current tooling.
Step by step, I’m working toward tighter joins, better flow, and a deeper understanding of the craft.
Disclaimer: This blog is a place to document my projects, experiments, and lessons learned. I’m a craftsman first, not a writer—but I share in the hope that others find it useful or inspiring.
